How to Create a Drop Down List in Excel
Creating organized and efficient spreadsheets is essential for anyone who uses Excel. One powerful feature that can help you achieve this is the drop-down list. In this article, we will explore how to create a drop down list in Excel.
This feature allows you to streamline data entry, minimize errors, and maintain consistency in your work.
What is a Drop-Down List?
A drop-down list is a tool that provides users with a set of predefined options. Instead of typing in data, users can select from a list.
This is especially useful for fields such as categories, statuses, or any other repeated values.
Knowing how to create a drop down list in Excel can significantly enhance your productivity.
Benefits of Using Drop-Down Lists
- Saves Time: With a drop-down list, you can quickly select options without having to type them out.
- Reduces Errors: It minimizes the chances of making spelling mistakes or typos.
- Improves Consistency: Everyone using the spreadsheet will select from the same set of options, ensuring uniformity.
Step-by-Step Guide on How to Create a Drop Down List in Excel
Step 1: Prepare Your List
Before you can create a drop-down list, you need to prepare the list of options.
I will be using the MS Office 2013 but the steps works for all other versions.
1. Open a new Excel sheet.
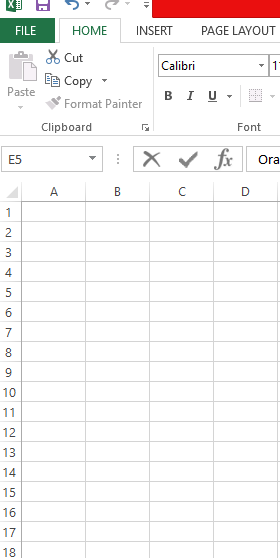
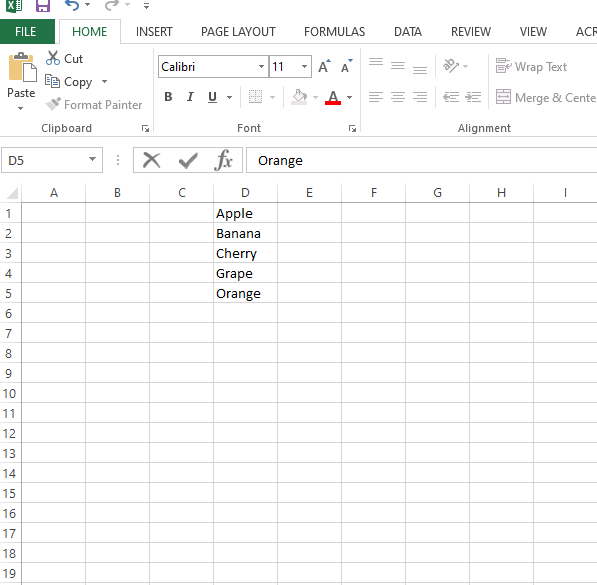
2. In a column, type in the options you want. For example:
- Apple
- Banana
- Cherry
- Grape
- Orange
Make sure each item is in a separate cell.
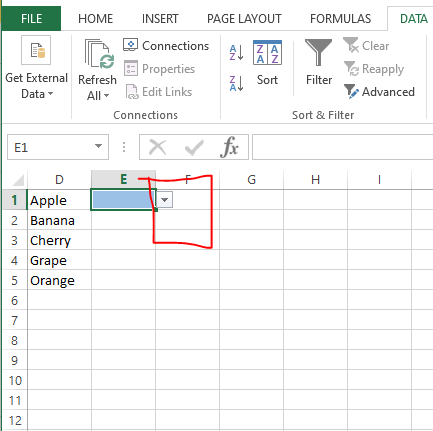
Your list should look like this.
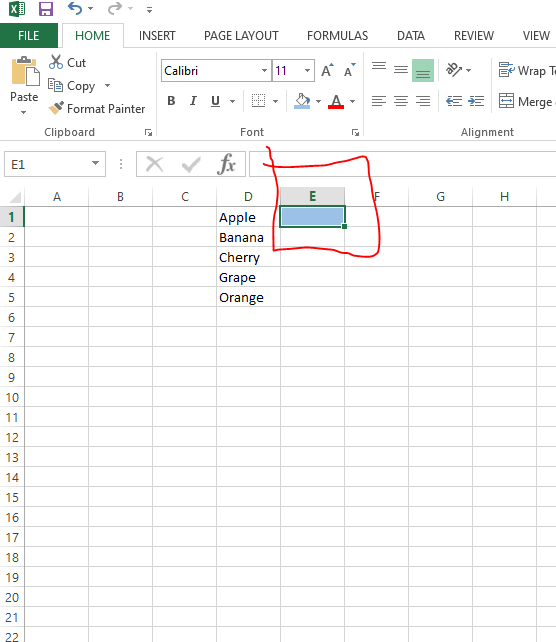
Step 2: Select the Cell for the Drop-Down
1. Now, choose where you want the drop-down list to appear.
Click on the cell where you want the drop-down, such as cell E1.
Step 3: Open the Data Validation Menu
You will need to use the Data Validation feature.
Ensure that the cell you want to have the drop-down is active (one-clicked)
Go to the Data tab in the top menu. Click the drop-down icon and select “Data Validation.”
The window pop-up will show up like the one below
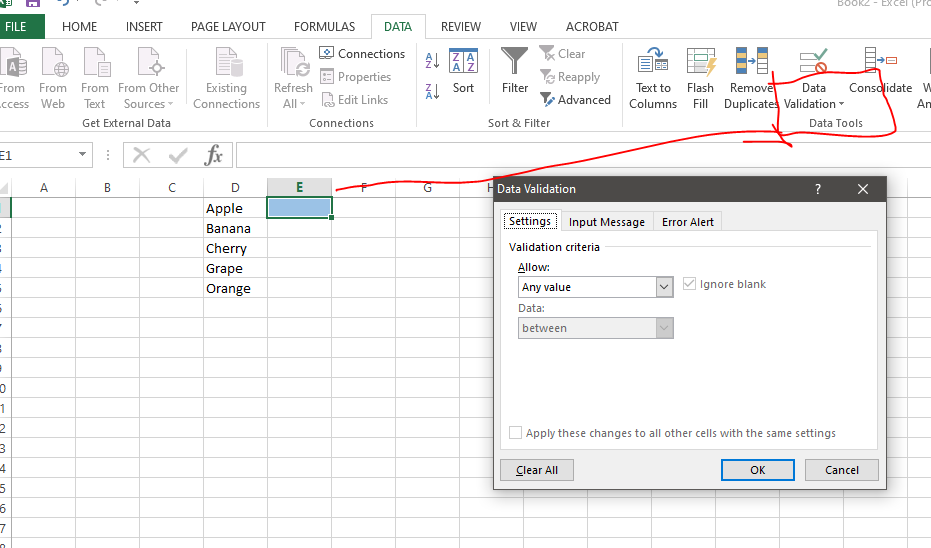
2. Find the Data Validation option on the top bar.
Step 4: Set Up the Drop-Down List
1. In the Data Validation window, click on the Settings tab.
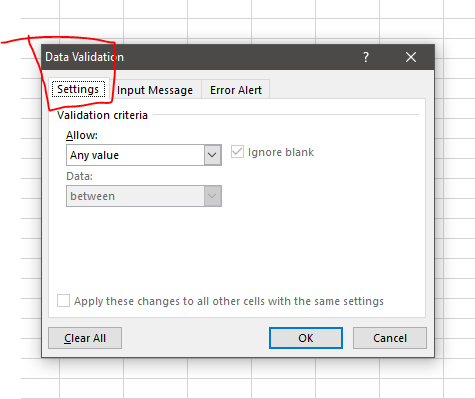
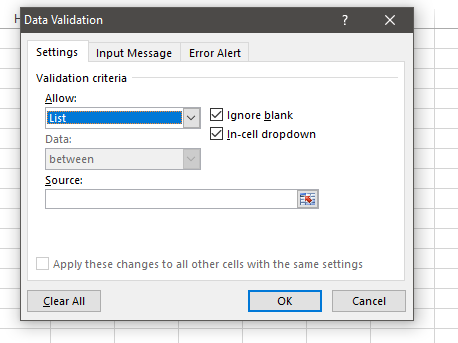
2. Under Allow, select List from the drop-down menu.
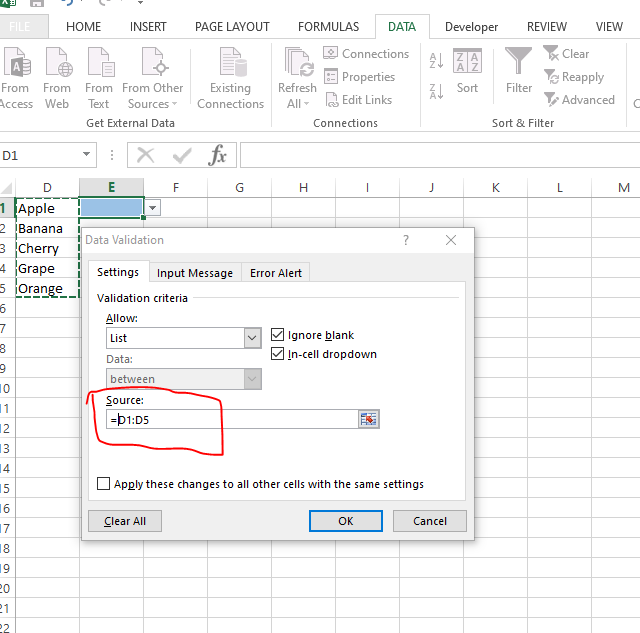
3. In the Source box, enter the range of your list. For example, if your list is in cells D1 to D5, type =D1:D5.
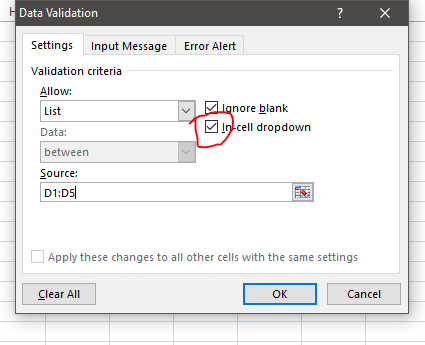
4. Ensure the In-cell dropdown box is checked.
Step 5: Click OK
After you have set everything up, click the OK button.
Your drop-down list is now ready!
You should see an arrow pointing down.
Step 6: Test Your Drop-Down List
To check if it works, click on the cell where you created the drop-down. You should see a small arrow.
Click the arrow to see your list of options. Please select one to ensure it functions correctly.
Customizing Your Drop-Down List
Once you know how to create a drop-down list in Excel, you can customize it in various ways:
1. Add More Items: Simply type new options in your source list.

But remember to update your source range.

2. Change Items: Edit any item in the source list to update the drop-down.
3. Remove Items: Deleting an item from the source list will automatically update the drop-down.
But remember to delete the entire row for the clean list.
For more enticing books from Amazon, click the button below.
Using Named Ranges
For larger lists or lists on different sheets, consider using named ranges.
- Select your list of items.
- Click on the Formulas tab.
- Select Define Name. Name it something like “Fruits”.
4. Go back to the Data Validation settings and type =Fruits In the Source box.
Tips for Effective Drop-Down Lists
- Keep It Simple: Use clear and concise names.
- Organize by Category: If your list is long, group items by category.
- Test Your List: Always check that your drop-down is functioning properly.
Common Mistakes to Avoid
- Forgetting In-cell Dropdown: Make sure this option is selected.
- Incorrect Range: Double-check the cell references.
- Extra Spaces: Avoid unnecessary spaces in your source list.
Conclusion
Knowing how to create a drop down list in Excel is a valuable skill. It enhances your efficiency and helps maintain data integrity. By following the steps outlined in this article, you can easily set up drop-down lists tailored to your needs. Whether for personal projects or professional use, drop-down lists make data entry simpler and more reliable. Start using this feature today to improve your Excel experience!